
In the map view, the user sees the vehicles for which they have been granted tracking rights. The vehicles displayed on the map are also determined by the selections made in the blue top bar regarding device groups and devices.
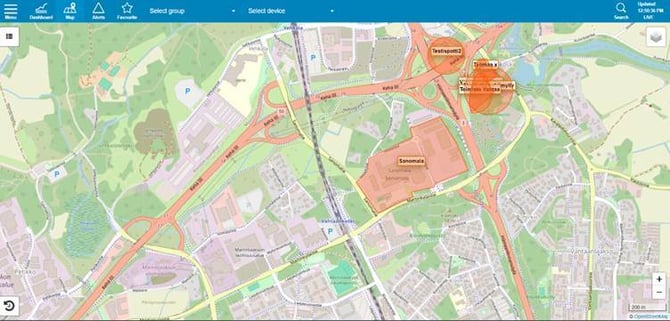
A legend explaining the route colors appears in the top-left corner of the map view. This color coding makes it easy to see on the map where different vehicle channels have been used. The color codes can be partially customized according to client requirements
A menu opens in the top-right corner of the map view, allowing you to select different base maps, toggle the display of named locations and geofences, and choose whether to show all selected vehicles or only those that have triggered a "watchdog" alert. In some cases, customer-specific map layers—such as aerial imagery, road centerlines, etc.—may also be available for selection. In addition, the menu offers the option to enable weather data from weather stations.
There is a map zoom function in the bottom-right corner. You can, of course, also zoom the map using the mouse wheel.
The movement history playback function is in the bottom-left corner. This function allows you to replay the route of a specific vehicle on the map view for a desired period of time.
By clicking the vehicle icon on the map, you can view more detailed information about the vehicle (such as its current speed and the duration of driving or idling.