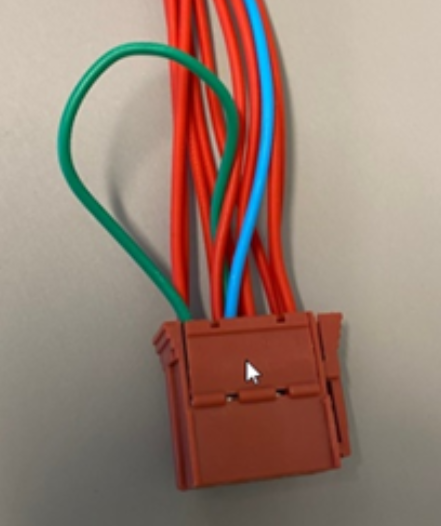
Teltonika FMC640/FMC650 Remote Tacho Download, Plug and Play cable
Step 1 - Disconnect the black 2-pin connector with grey and purple wire
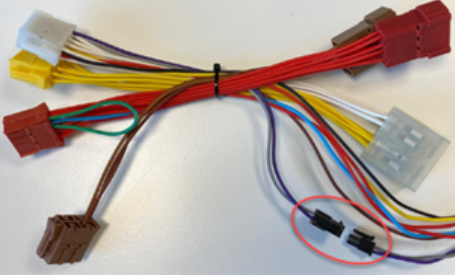
Step 2 - Remove Tachograph
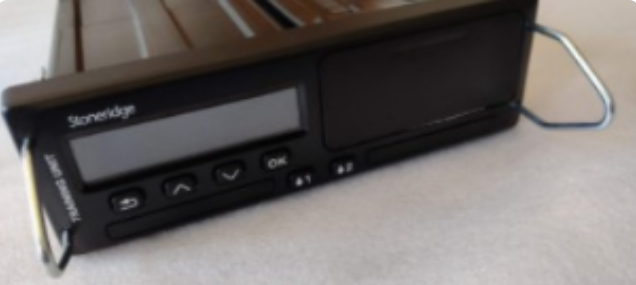
Using the tacho removal tools (not supplied)
Step 3 - Remove all vehicle’s plugs from the rear of the tachograph.
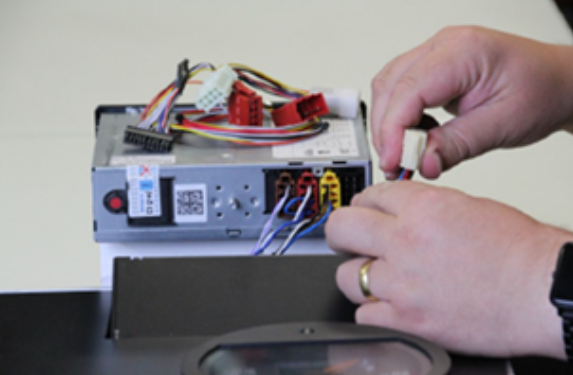
Step 4 - Install Teltonika device.
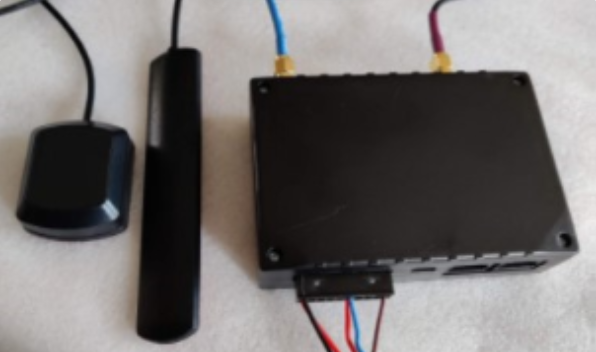
Find a suitable location for the Teltonika device that will not interfere with or affect re-insertion of the tachograph. Place antennas away from the tacho wires.
Step 5 - Connect vehicle’s plugs into the sockets on the cable harness.
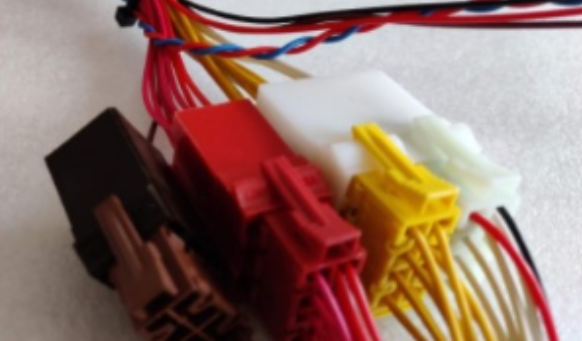
Step 6 - Re-connect the tachograph.
Insert cable harness plugs into tachograph.
(connector A – white plug; B -yellow plug; C - red plug; D - brown plug)
Slide tachograph back into position - ensuring that cables are not pinched or trapped.
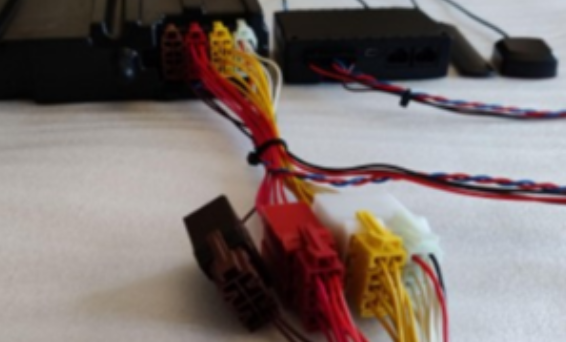
NB – Termination
If the Teltonika device is the only device connected to port C, keep the termination connection. If the port C is shared with other devices, cut the termination wire.